Edit Bucket
This guide provides step-by-step instructions on how to edit a bucket, enabling you to customise and update bucket details as needed.
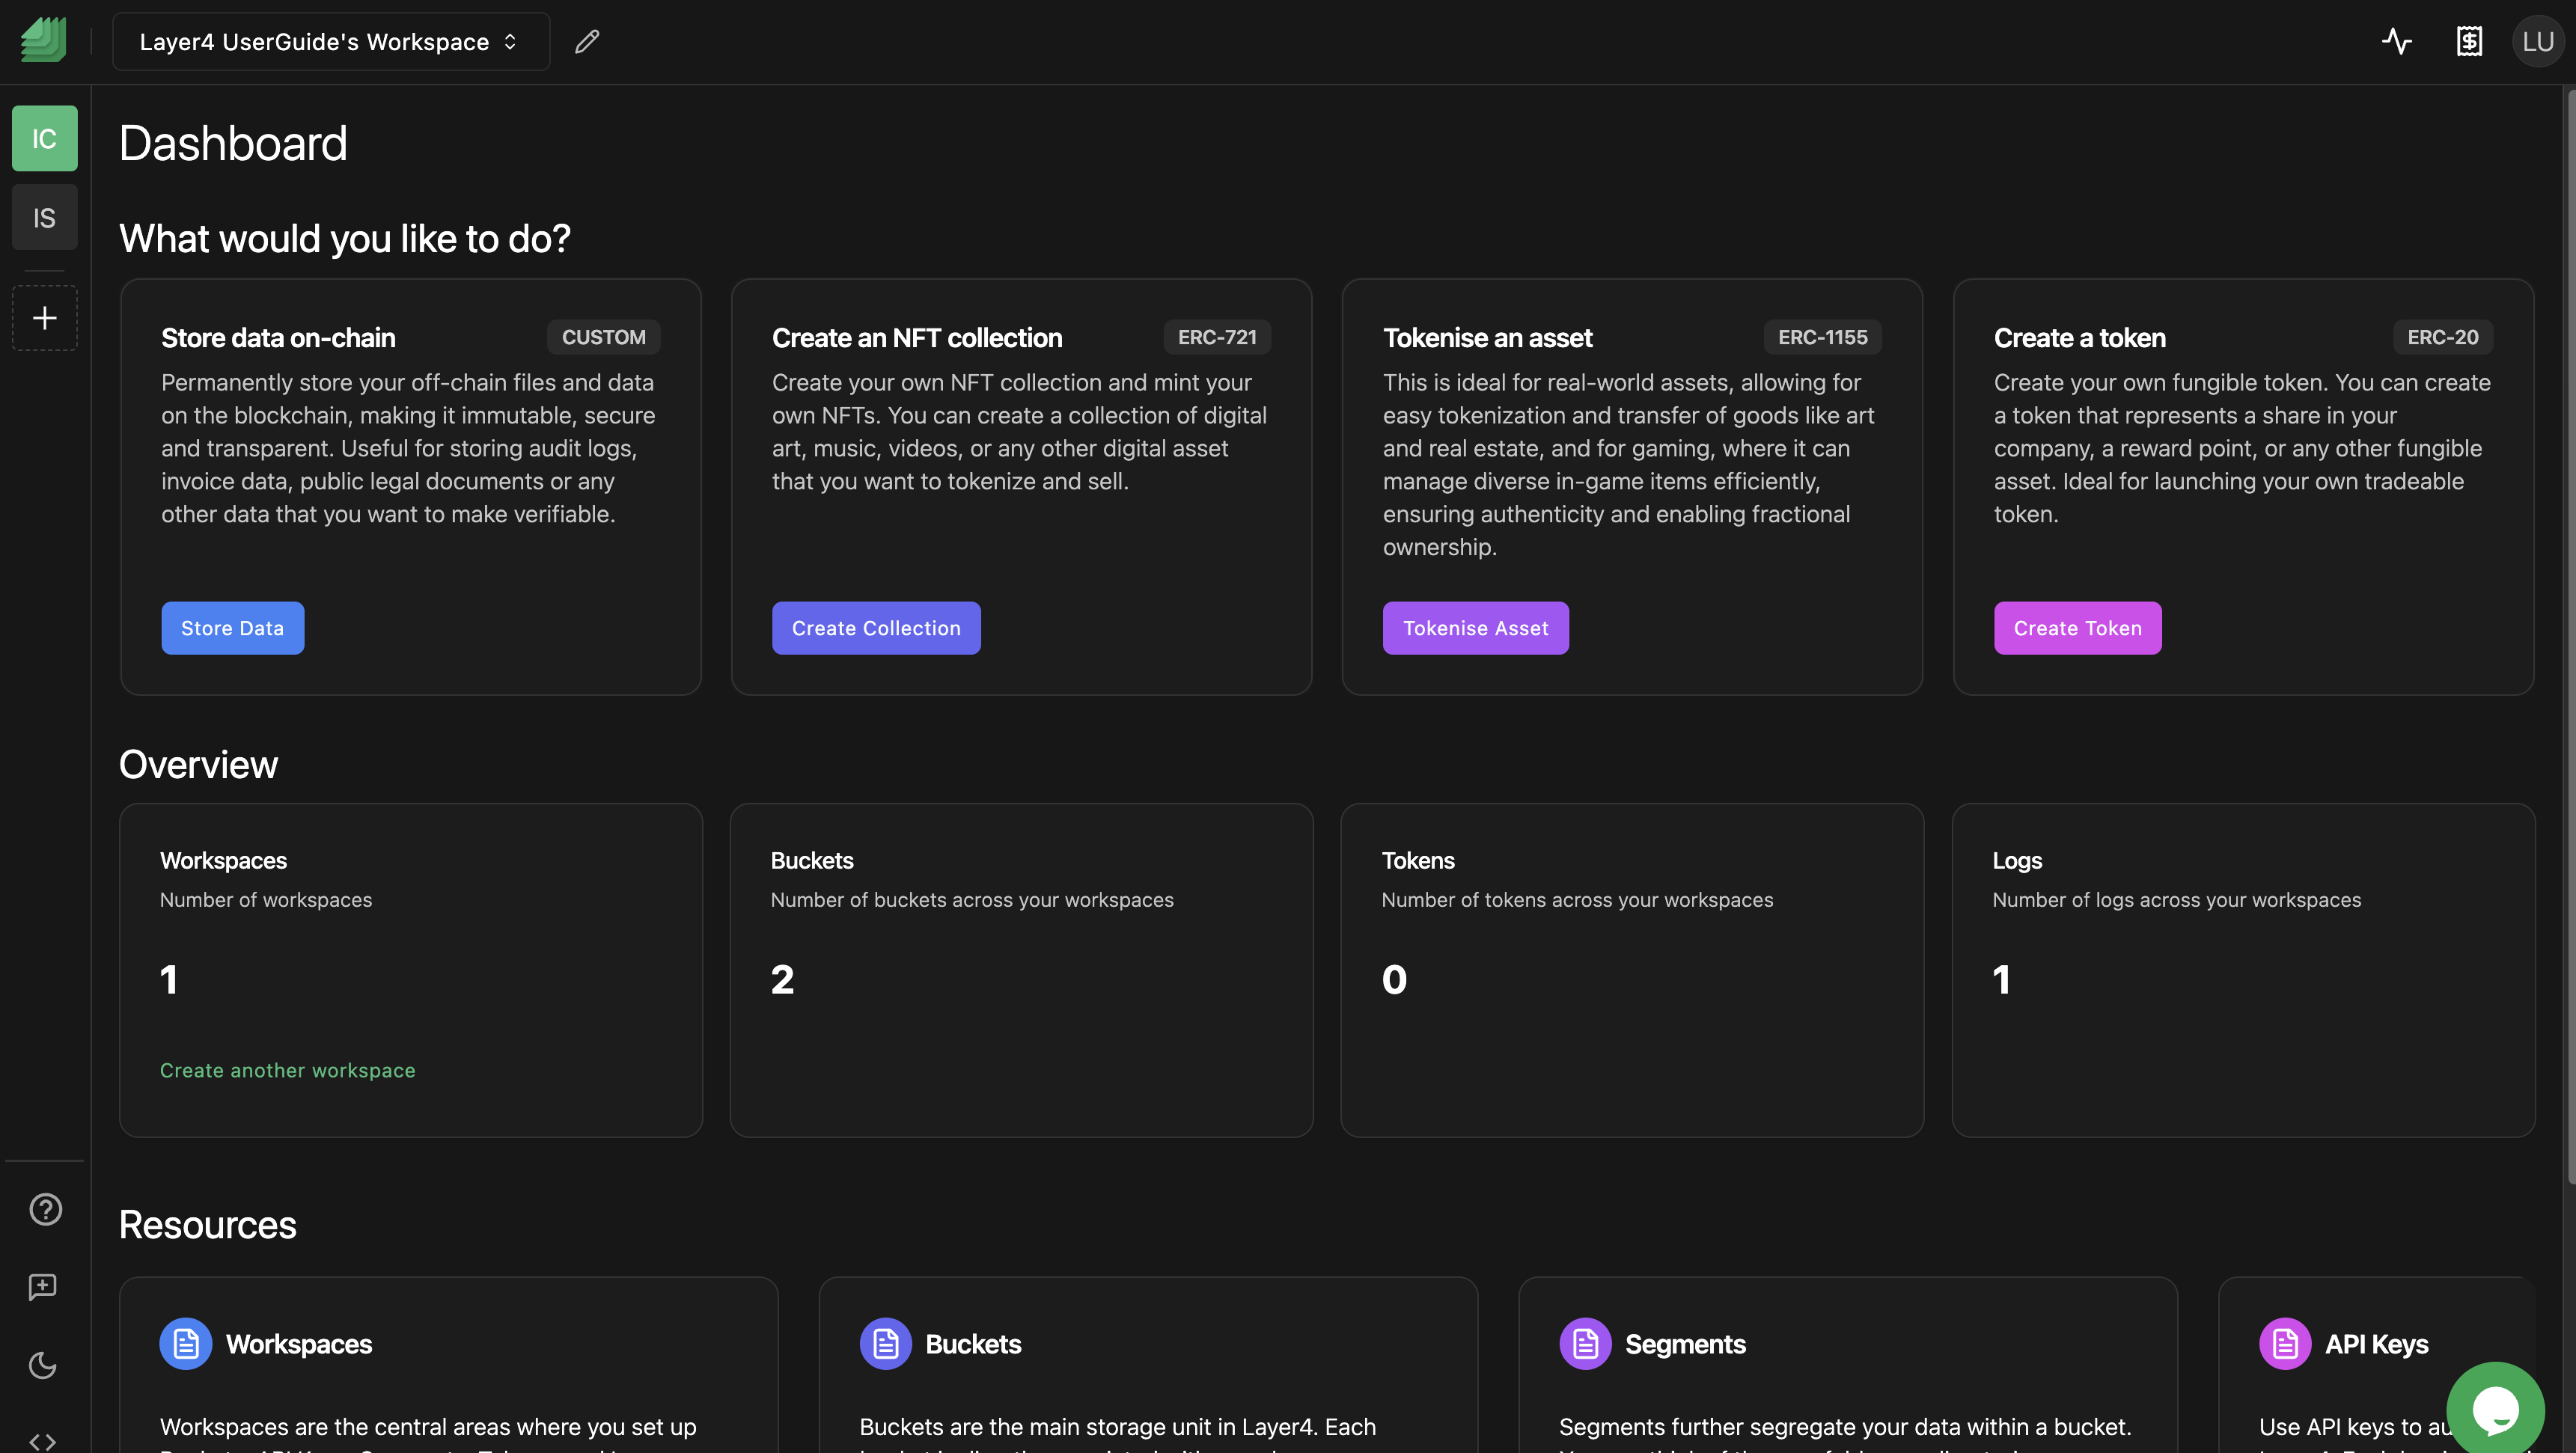
Before editing a bucket you will need to sign in.
Edit Bucket
To edit a bucket, follow these steps:
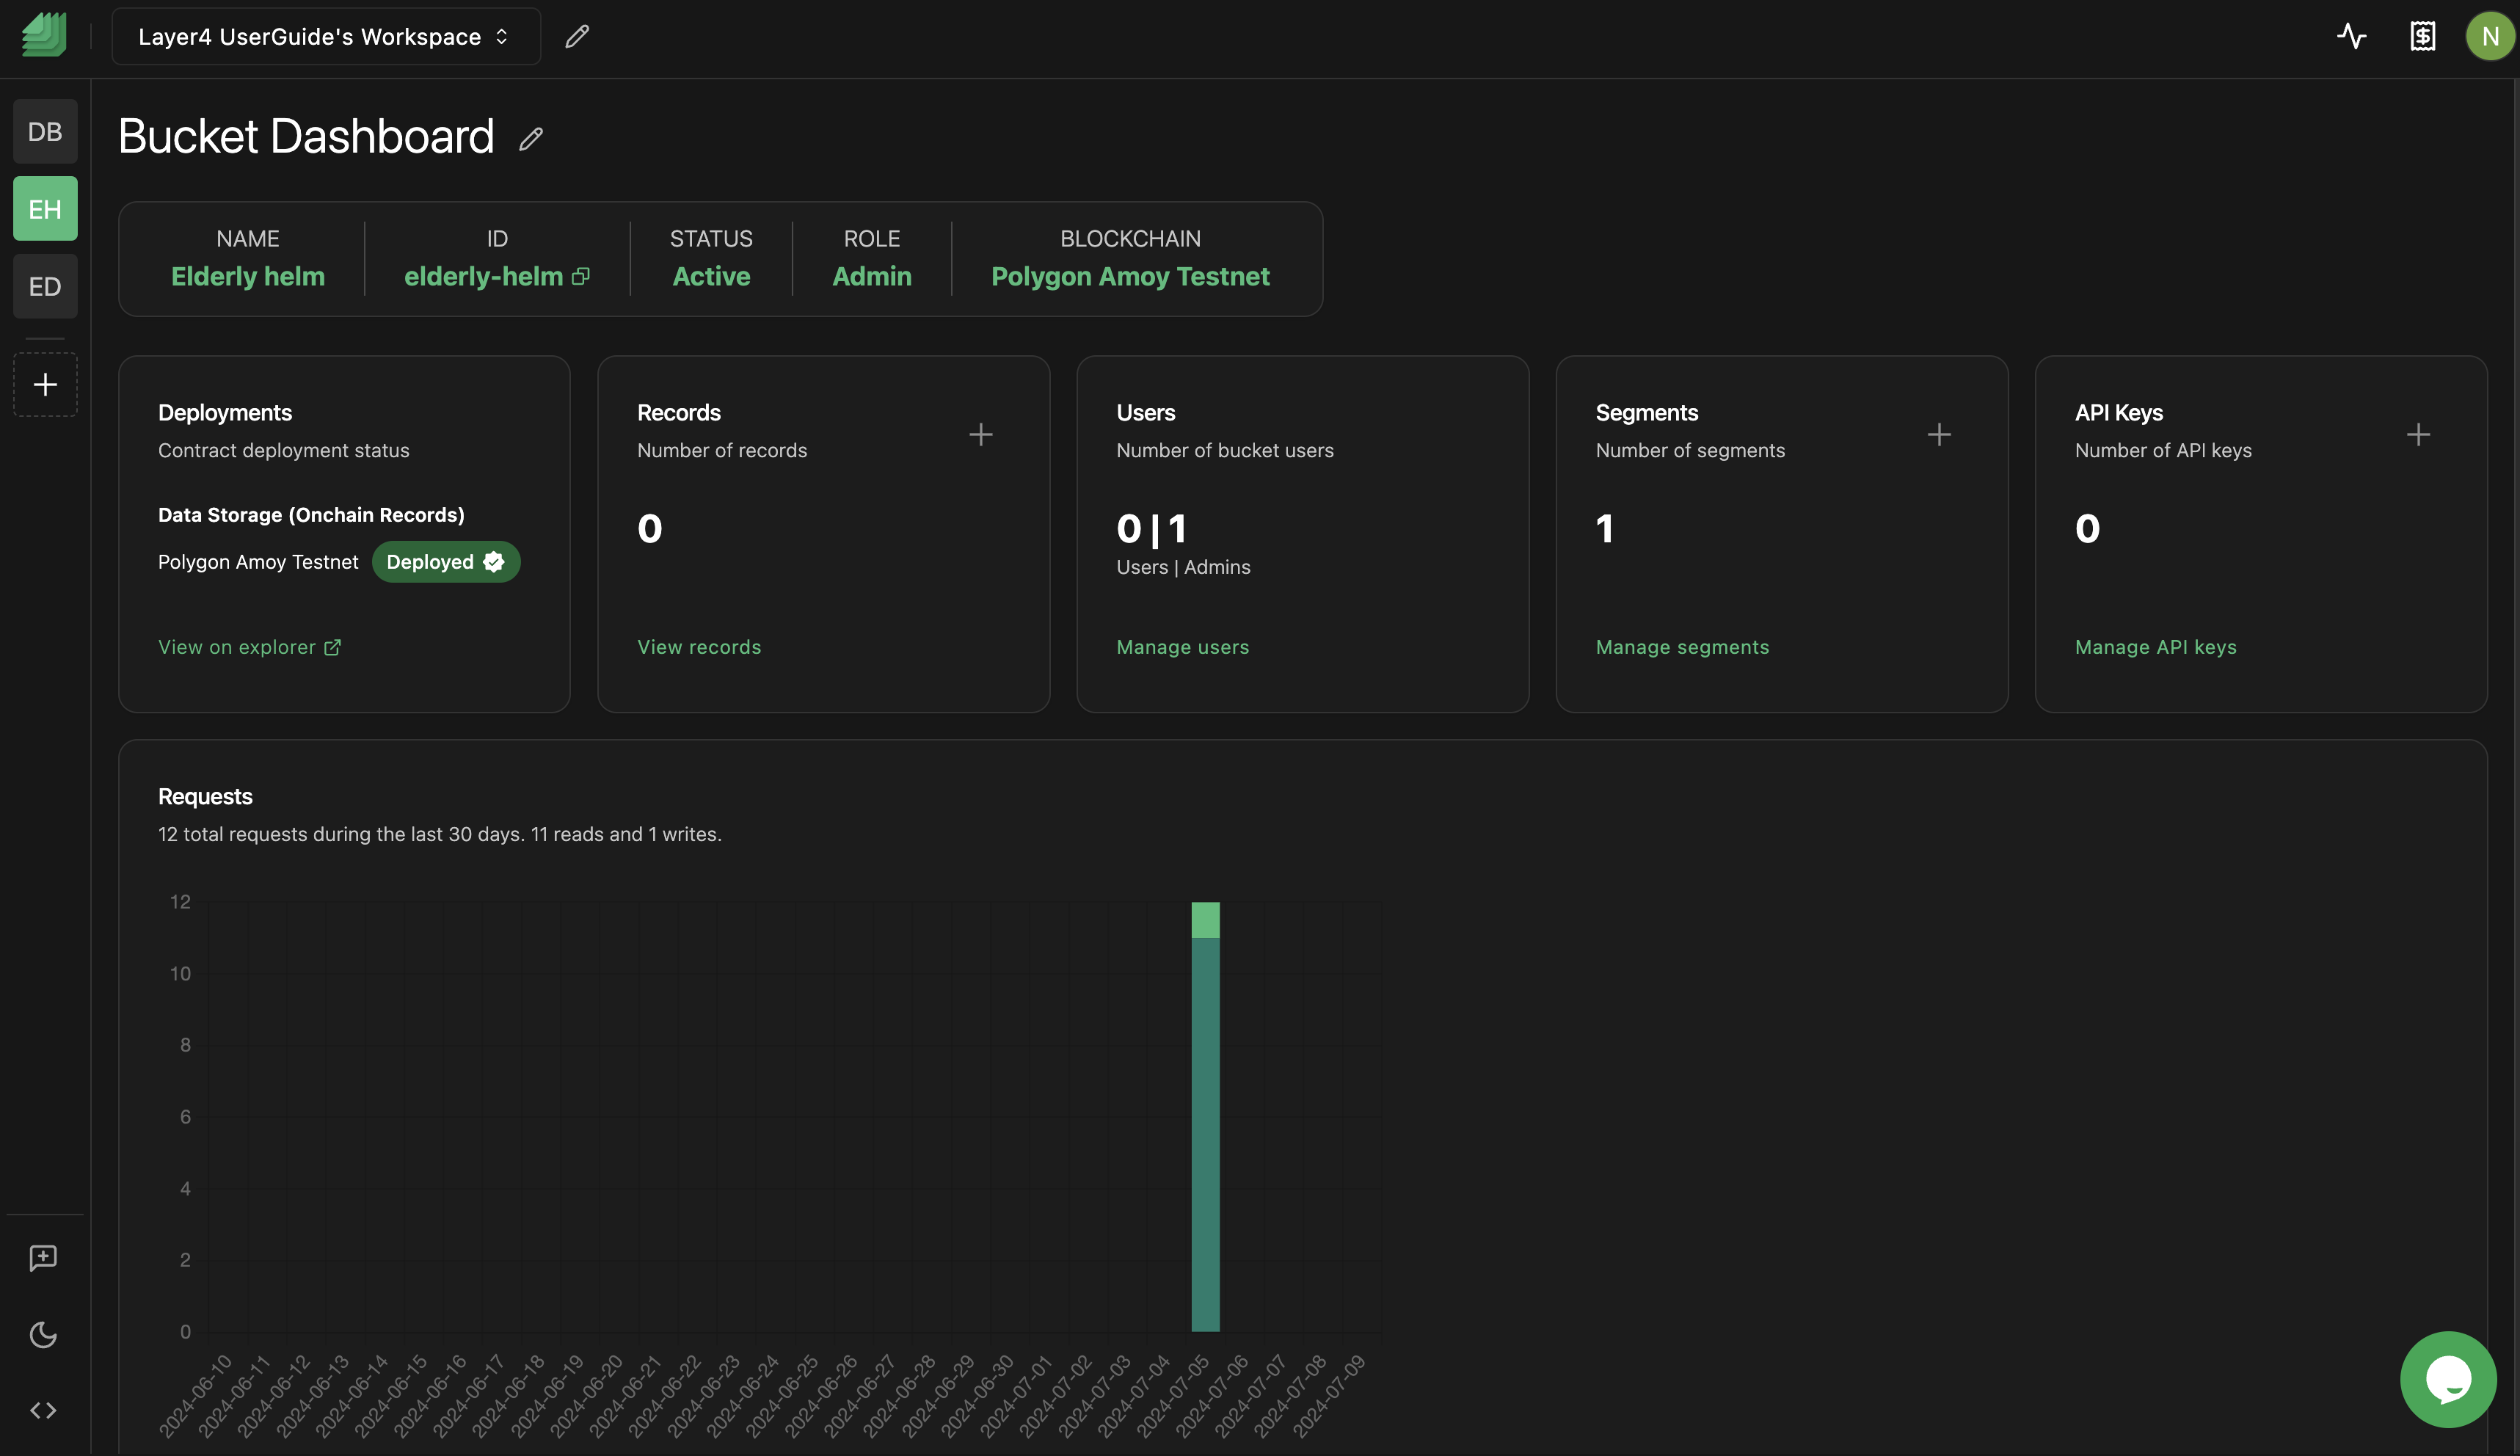
- Select the Bucket: Begin by clicking on the bucket on the left side of the page that contains the details you want to edit.
- Access Bucket Options: Next, click on the bucket options button (Pencil) next to the title "Bucket Dashboard".
- Make the Desired Changes: Modify the bucket details as needed. You can edit the bucket name and other relevant information.
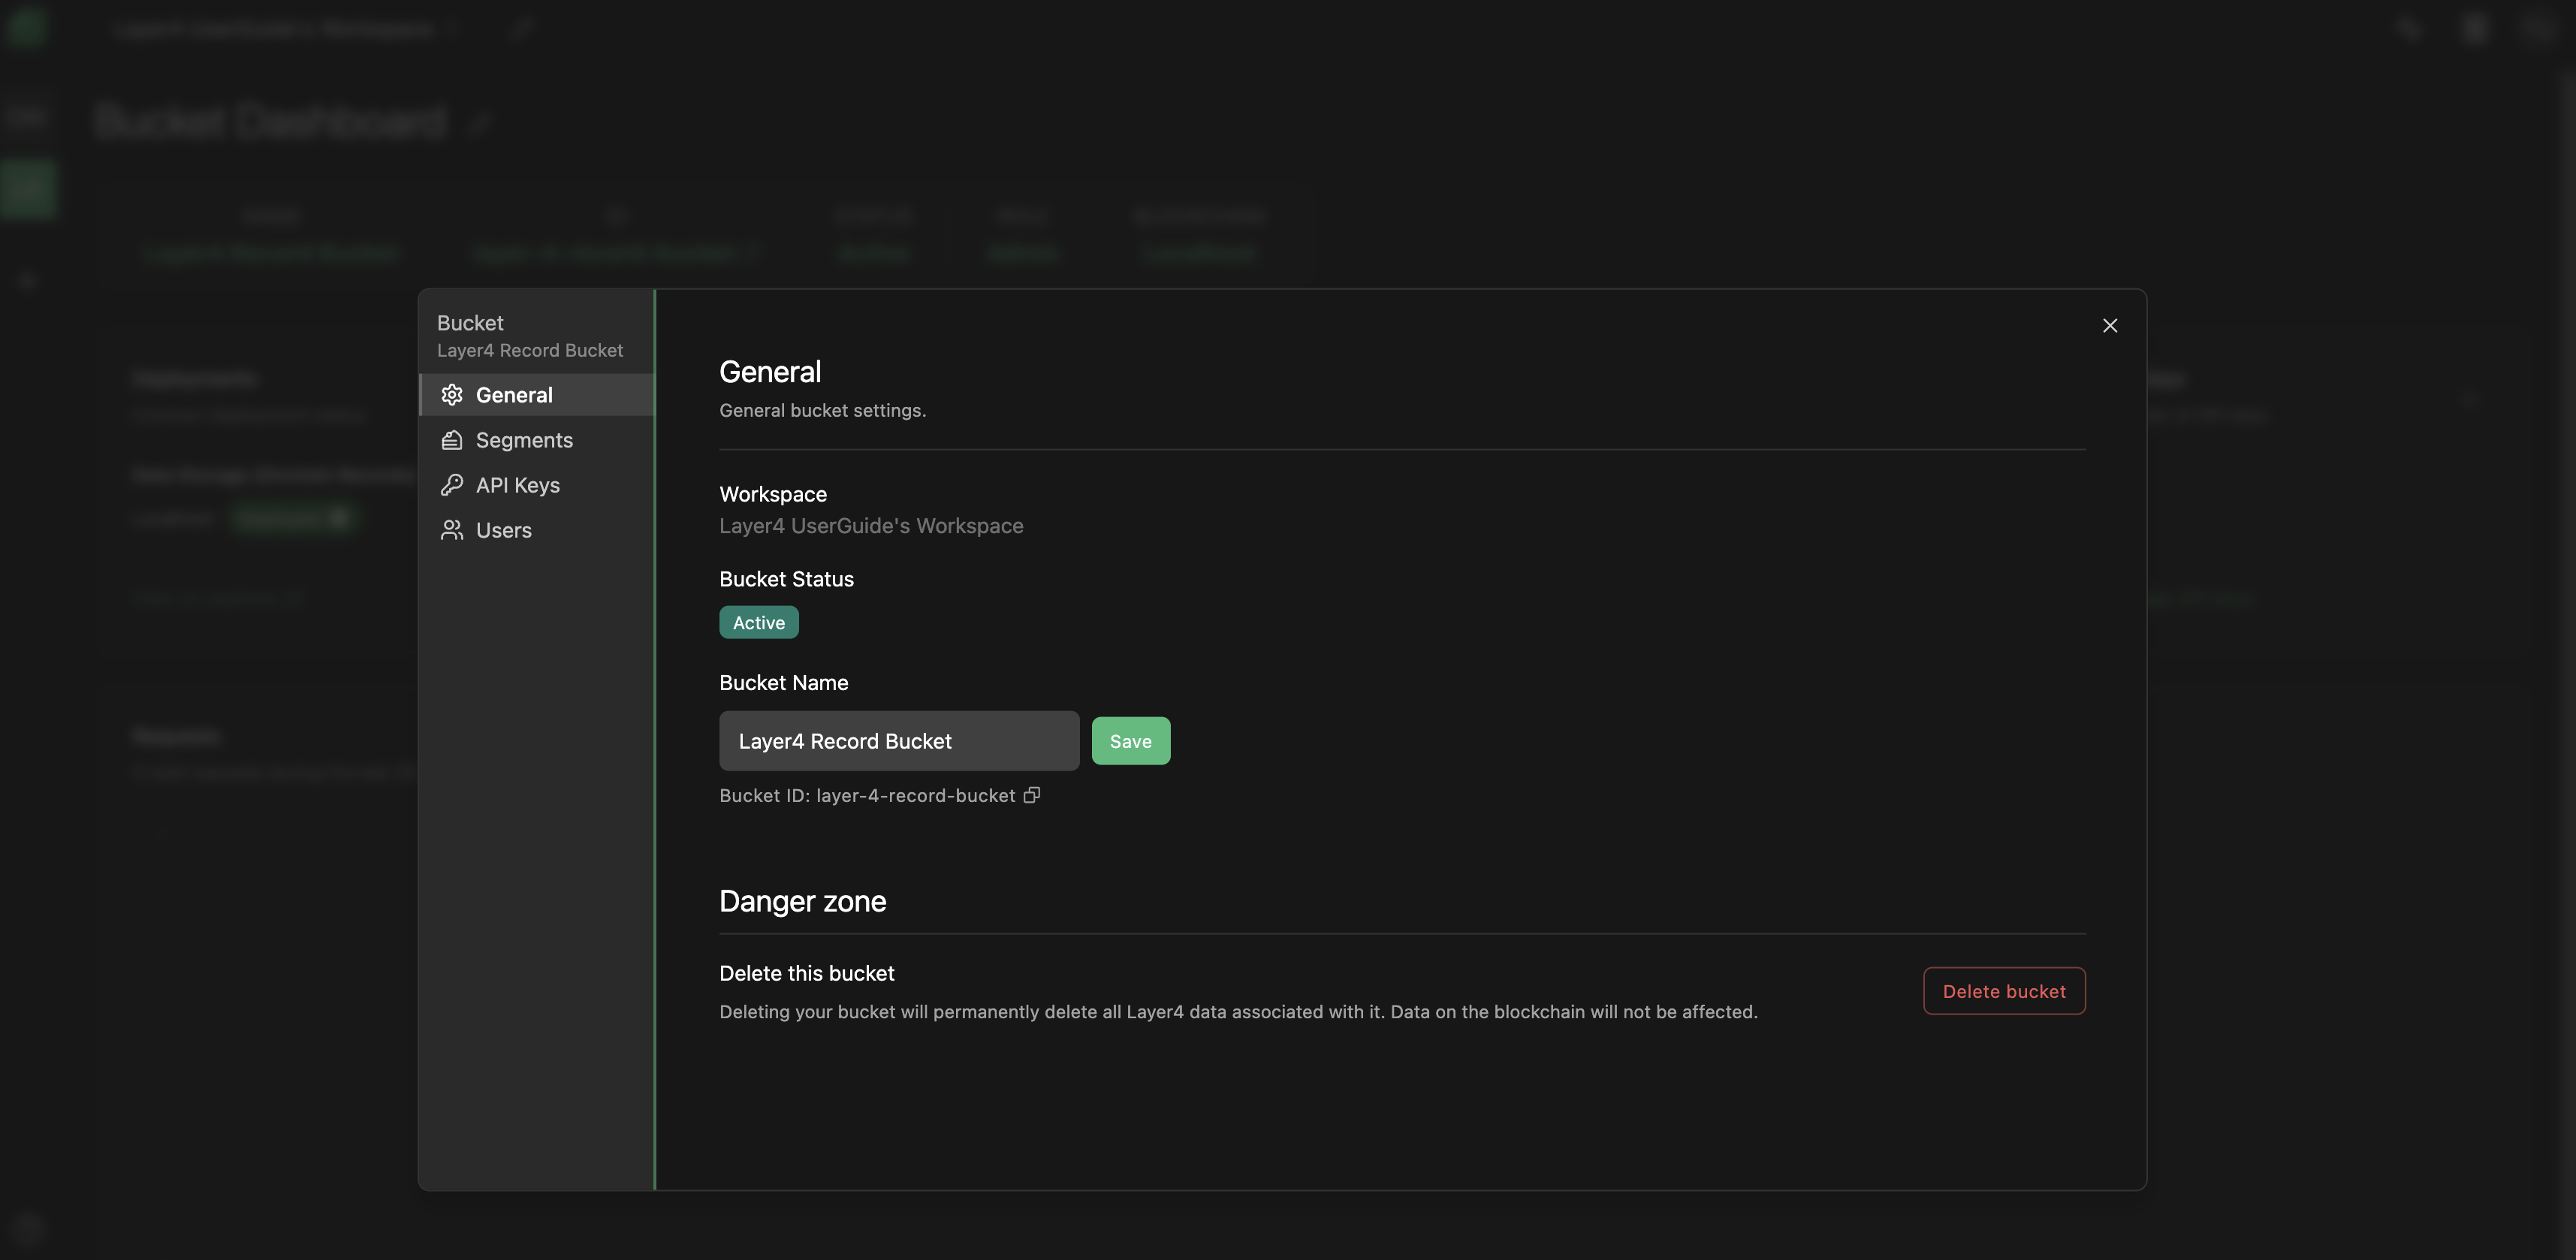
- Save the Changes: Once you've made the necessary edits, click on the "Save" button to save the updated bucket details.
Troubleshooting
If you encounter any issues while trying to edit a bucket, consider the following troubleshooting steps:
- Browser Compatibility: Try clearing your browser cache and cookies or using a different browser if problems persist.
If you continue to experience problems or have any questions about the bucket editing process, please contact our support team at [email protected] for further assistance.
Congratulations! You've successfully learned how to edit a bucket. This feature allows you to customize bucket names for better organization and management of your content within Layer4. If you have any further questions or need assistance, feel free to reach out to our support team.
Enjoy using Layer4!